

- By
- September 24, 2025

Mautic is an open-source marketing automation system that is widely used as an automated email marketing solution. With Mautic, users can create a more personalized experience for their audience across all the digital platforms and channels. In this article, I’ll show you how to Install Mautic and here the administration is Mautic.
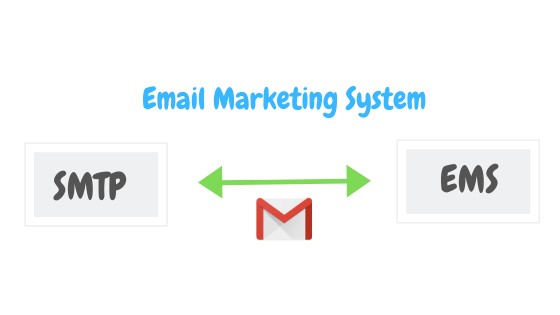
If you have a little bit of experience in email marketing then you’ll be familiar with the email marketing plans consist of two parts:
The Sender: this is the technical part of the SMTP server. You can send emails with the permission of this server online.
An Administration software: where you can configure and manage your email list, advertising campaigns, monitor and analyze results, manage your sending servers, and so on. So, we can connect both to get an email marketing plan.
To build Mautic we should have two things:
You are required to get a VPS server first to install Mautic on. You can get a VPS server from the company of your own choice. Moving on, we’ll use Contabo services in this guide.
After you get the VPS server just create a server with the following specifications:
If you don’t have a domain, then getting a domain is just a piece of cake. All you need to do is, go to any of the domain registration company and buy a domain name. Here are the names of some companies you can get your domain register:
Before proceeding, you’ve to point your domain or subdomain to your IP address. But here I’ll point subdomain “mautic.example.me” to my Contabo IP address. OK now we have a domain and VPS server, let’s start the installation process.
You can use an SSH client like putty to connect to your server and also Install Apache, PHP, and MySQL which are the pre requests for hosting any PHP application like Mautic.
What you will need
How to host any PHP script online? Complete guide 2021
Install Apache Web Server on your VPS by running the following command:
sudo apt update
sudo apt install apache2
After the installation complete, enable the service by running the following command.
sudo systemctl restart apache2.service
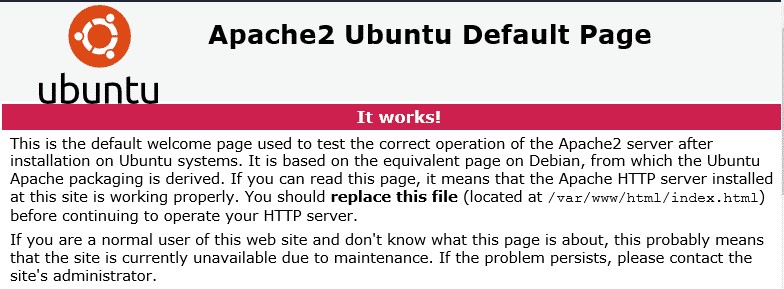
sudo systemctl enable apache2.serviceThen inspect the working of Apache on your server by browsing the VPS IP address (http://Your_IP_Address).
The default page should be like this:
Mautic also requires a Database to save data because it’s working is not much different from PHP System.
To install MariaDB run the commands below (Choose between Ubuntu 16,18):
sudo apt-get install software-properties-common gnupg-curlsudo apt-key adv --fetch-keys 'https://mariadb.org/mariadb_release_signing_key.asc'sudo add-apt-repository 'deb [arch=amd64,arm64,i386,ppc64el] http://mirrors.piconets.webwerks.in/mariadb-mirror/repo/10.5/ubuntu xenial main'sudo apt updatesudo apt-get install mariadb-serversudo apt-get install software-properties-commonsudo apt-key adv --fetch-keys 'https://mariadb.org/mariadb_release_signing_key.asc'sudo add-apt-repository 'deb [arch=amd64,arm64,ppc64el] http://mirrors.piconets.webwerks.in/mariadb-mirror/repo/10.5/ubuntu bionic main'sudo apt updatesudo apt-get install mariadb-serverYou can stop MariaDB by running the following command.
sudo systemctl stop mysql.service
sudo systemctl start mysql.service
sudo systemctl enable mysql.servicesudo systemctl stop mariadb.service
sudo systemctl start mariadb.service
sudo systemctl enable mariadb.serviceAfter that, create a root password and disallow the remote root to secure your MariaDB by running the following command.
sudo mysql_secure_installationWhen prompted, enter these answers:
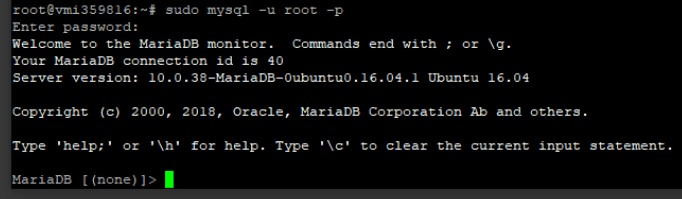
To test if MariaDB is installed, type the command below to logon to MariaDB server
sudo mysql -u root -pThen login by typing the password you created above. If it works you’ll receive the welcome message like this:
Mautic is a PHP based script so, we have to install some modules and PHP on the server. In this guide, we’ll install PHP 7.4 but you can use any version you want. Just change “7.4” to 7.X” in the commands.
Add the repository of the third party to install PHP 7.4 by running the following command.
sudo apt-get install software-properties-common
sudo add-apt-repository ppa:ondrej/php
After that update this:
sudo apt updateThen install PHP 7.4 and related modules. By running the following commands
sudo apt install php7.4 libapache2-mod-php7.4 php7.4-common php7.4-gmp php7.4-curl php7.4-intl php7.4-mbstring php7.4-xmlrpc php7.4-mysql php7.4-bcmath php7.4-gd php7.4-xml php7.4-cli php7.4-zip php7.4-imapRun the following command:
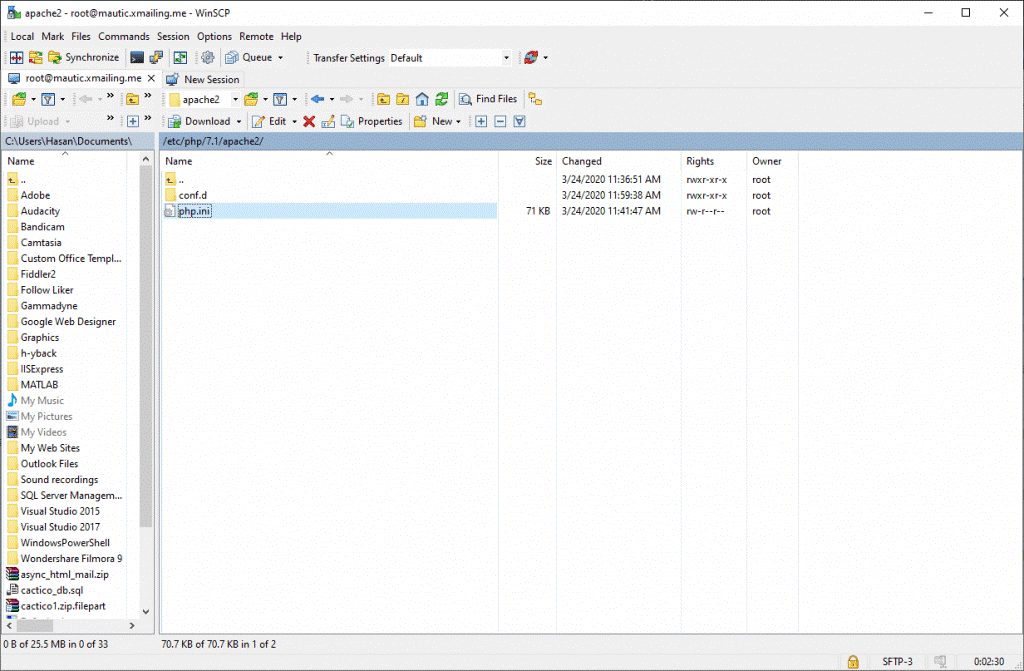
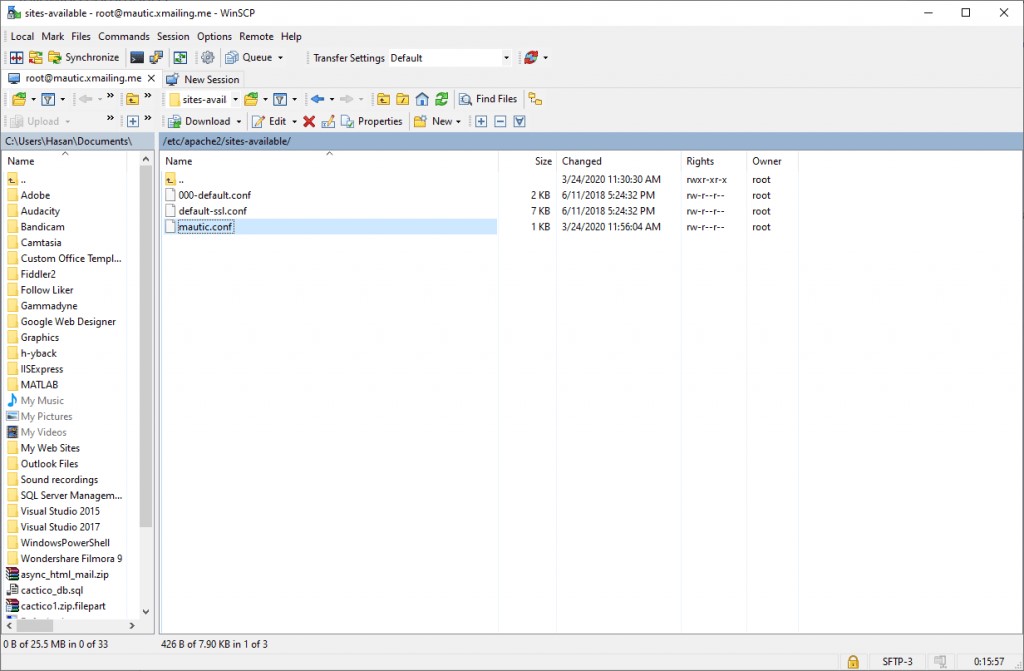
sudo apt install php-pcovNow you’ve installed PHP, Open WinSCP to edit the php.ini file. WinSCP works over SSH so, it will make things a lot easier with putty.
Apply changes by following these guidelines:
file_uploads = On
allow_url_fopen = On
short_open_tag = On
memory_limit = 256M //You can increase this if you server can handle
upload_max_filesize = 100M
max_execution_time = 360
date.timezone = America/NewYork //Set your Time Zone heresudo systemctl restart apache2.serviceNow our server is ready to install so, we need to create a Database for Mautic in MariaDB.
To login, MariaDB MySql database server we’ve to run the following commands.
sudo mysql -u root -pThen create a database called mautic (or any name you want)
CREATE DATABASE mautic;Create a database user called mautic with a new password
CREATE USER 'mautic'@'localhost' IDENTIFIED BY 'Enter_Your_Password_Here'Then grant the user full access to the database.
GRANT ALL ON mautic.* TO 'mautic'@'localhost' IDENTIFIED BY 'Enter_your_password_here' WITH GRANT OPTION;Finally, save your changes and exit.
FLUSH PRIVILEGES;
EXIT
To get the latest version of Mautic you can use Github repository. So, install composer, Curl and other dependencies.
Run these commands for installation.
#First Command:
sudo apt install curl git

#Second Command:
curl -sS https://getcomposer.org/installer | sudo php -- --install-dir=/usr/local/bin --filename=composer --version=1.10.13
When the operation finishes, replace the directory with “/var/www/html” by running the following command:
cd /var/www/htmlThen Download Mautic package:
sudo git clone https://github.com/mautic/mautic.gitNow Install Mautic by running the following commands:
cd /var/www/html/mautic

sudo composer instal
After the installation finishes, get the permission to set some files by running the following commands.
sudo chown -R www-data:www-data /var/www/html/mautic/

sudo chmod -R 755 /var/www/html/mautic/Now we’ve installed the Mautic. So, you’ve to configure Apache to access the Mautic by using your domain name.
In order to do so first follow the below steps:
<VirtualHost *:80>
     ServerAdmin admin@mautic.example.com
     DocumentRoot /var/www/html/mautic
     ServerName mautic.example.com
     ServerAlias mautic.example.com

     <Directory /var/www/html/mautic/>
        Options +FollowSymlinks
        AllowOverride All
        Require all granted
     </Directory>

     ErrorLog ${APACHE_LOG_DIR}/error.log
     CustomLog ${APACHE_LOG_DIR}/access.log combined

</VirtualHost>Now finish the setup by running the following Setup to How To Build And Configure Mautic 3.
sudo a2ensite mautic.example.com.conf

sudo a2enmod rewrite

sudo systemctl restart apache2.service
Now go to the Web browser and navigate to your server name like this:
//mautic.example.com
You must see the setup completion wizard below:
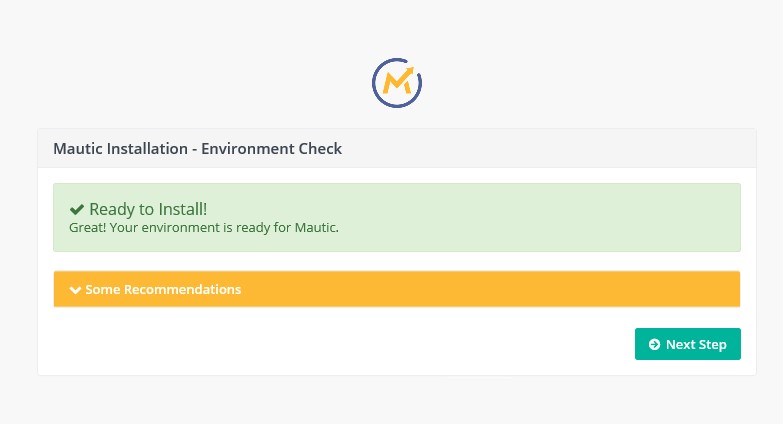
Enter the database and your admin login information to continue the setup process.
Now we’ve installed the Mautic, we just need to setup the Cron jobs.
Simply Cron Jobs is an organized activity that works automatically on a schedule.
For example, if you create an automated email campaign that run every week. You need a function that will automatically runs in the background to boost this campaign, this is the Cron job role, so do the setup.
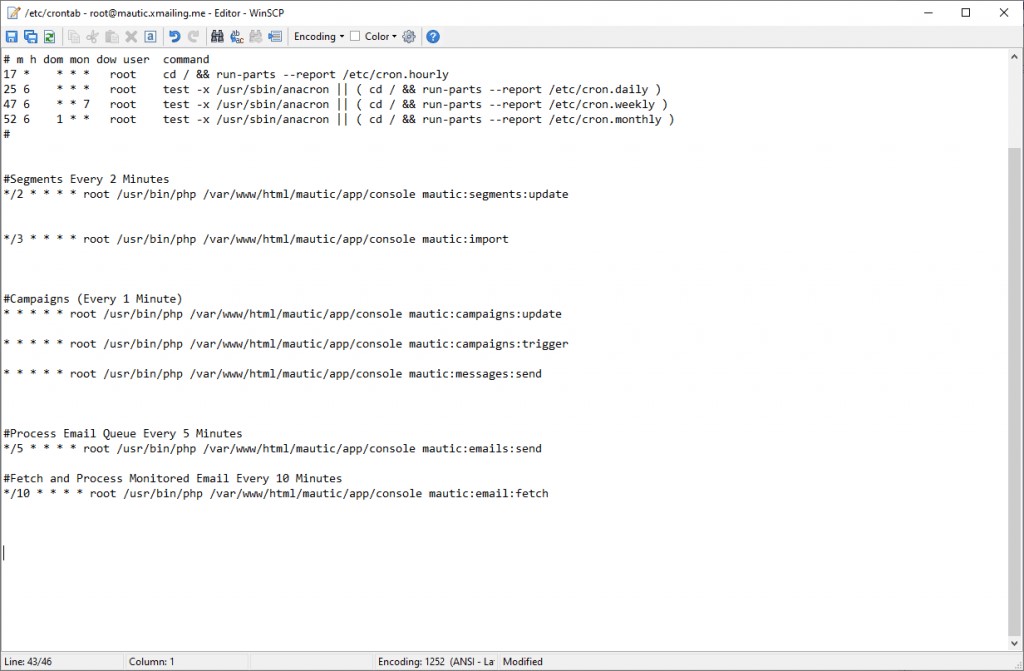
Mautic needs many Cron functions, some are required and some are optional, check out the list of all Cron jobs here in mautic. All you just have to copy the jobs below and paste them on your server to put them into action.
#Segments Every 2 Minutes
*/2 * * * * root /usr/bin/php /var/www/html/mautic/bin/console mautic:segments:update
*/3 * * * * root /usr/bin/php /var/www/html/mautic/bin/console mautic:import

#Campaigns (Every 1 Minute)
* * * * * root /usr/bin/php /var/www/html/mautic/bin/console mautic:campaigns:update
* * * * * root /usr/bin/php /var/www/html/mautic/bin/console
mautic:campaigns:trigger
* * * * * root /usr/bin/php /var/www/html/mautic/bin/console mautic:messages:send

#Process Email Queue Every 5 Minutes
*/5 * * * * root /usr/bin/php /var/www/html/mautic/bin/console mautic:emails:send
#Fetch and Process Monitored Email Every 10 Minutes
*/10 * * * * root /usr/bin/php /var/www/html/mautic/bin/console mautic:email:fetch


#Process Email Queue Every 5 Minutes
*/5 * * * * root /usr/bin/php /var/www/html/mautic/bin/console mautic:emails:send

#Fetch and Process Monitored Email Every 10 Minutes
*/10 * * * * root /usr/bin/php /var/www/html/mautic/bin/console mautic:email:fetch
SSL certificates are used to encrypt the traffic between the server and client, providing additional security for users accessing your application. Let’s Encrypt provides an easy way to install trusted certificates for free.
Connect to your server using the Putty SSH client.
You can get the Let’s Encrypt Certificate through client software running on your server.
First, add the repository to install Cerbot (official client):
sudo add-apt-repository ppa:certbot/certbotYou’ll need to press ENTER to accept.
Then, to get the new package info just update the list.
sudo apt-get updateInstall Certbot’s Apache package:
sudo apt install python-certbot-apacheCertbot is now ready to be used.
Cerbot is quite easy to generate the SSL certificate for Apache. A new SSL certificate will be provided automatically to the client that is valid for the domains which are provided in the form of parameters.
sudo certbot --apache -d mautic.example.comThen you’ve to provide an email address for lost key recovery and notices to get the authority to choose between enabling both http and https access or forcing all requests to redirect to https. If you don’t have a specific need for unencrypted traffic then it will be safest to require.
Test your website now. Here I’ll test my website by browsing this “https://mautic.example.com” This is the guide all about How To install Mautic 3 email marketing automation tool.
Thanks For Reading
I am a committed digital marketer that is passionate about developing effective internet tactics. I’m dedicated to generating quantifiable outcomes and assisting businesses in thriving in the digital age by employing an extensive collection of SEO, social media, google ads and data analytics.